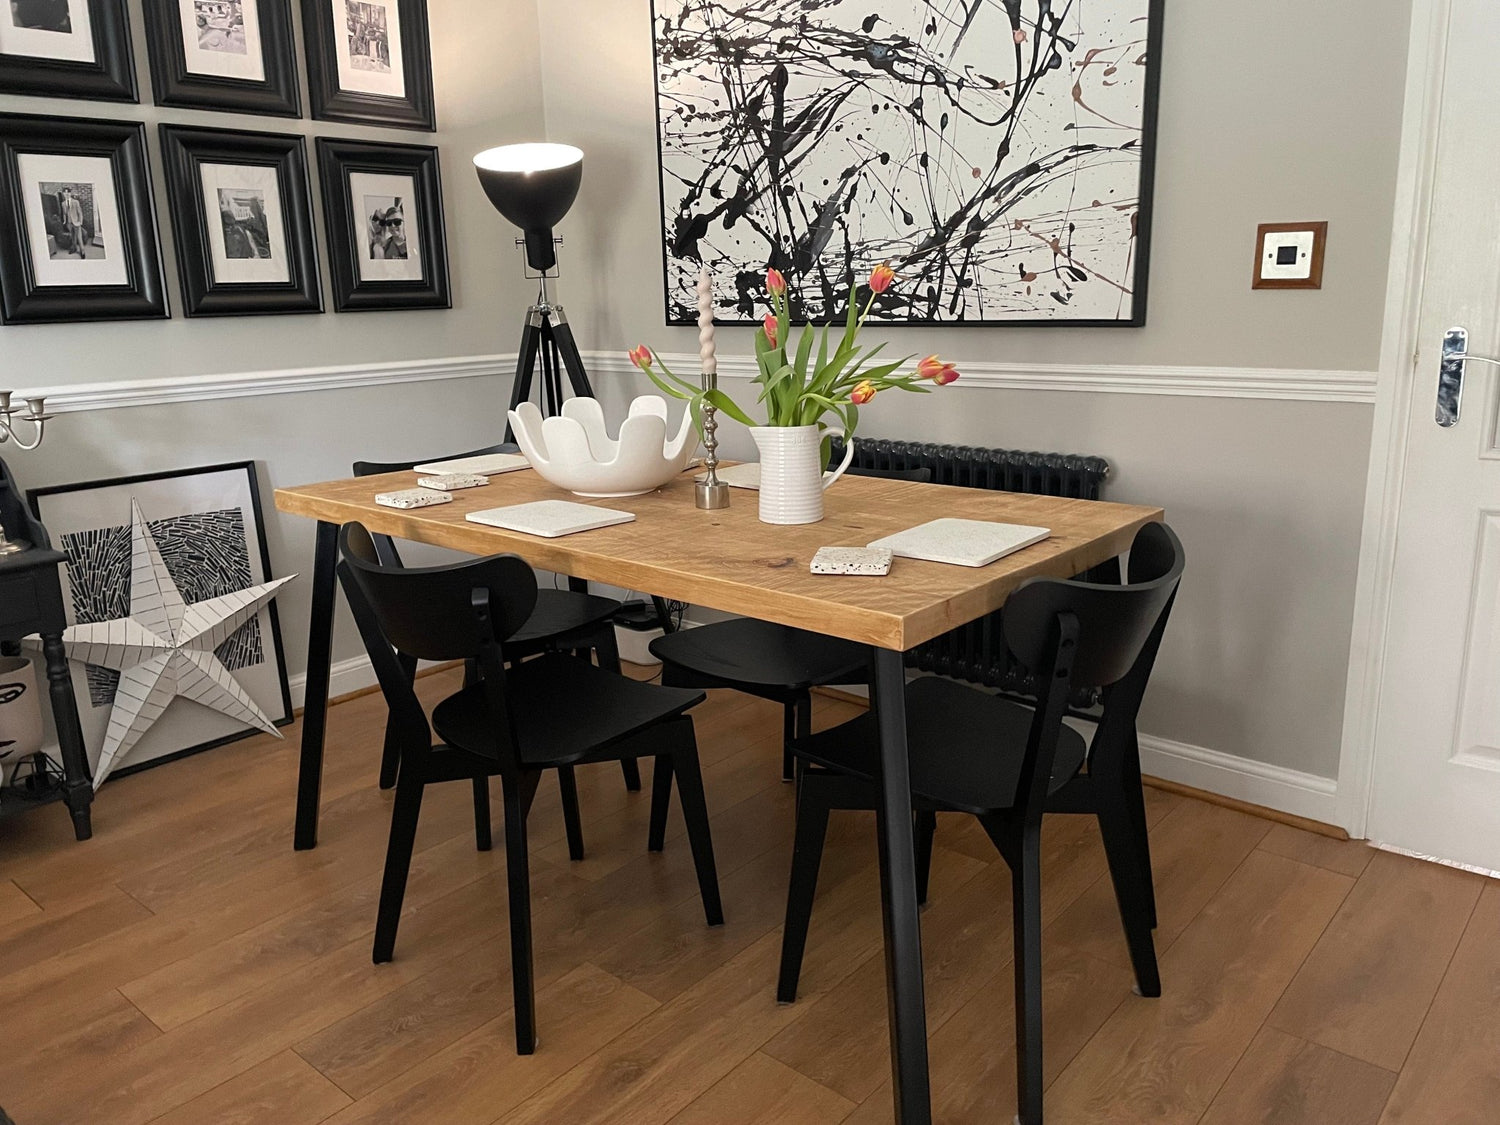
Standard Tables
1. Lay the table face down on packaging
2. Place legs over the predrilled insert holes
3. Using the spanner provided, secure the table legs with the bolts
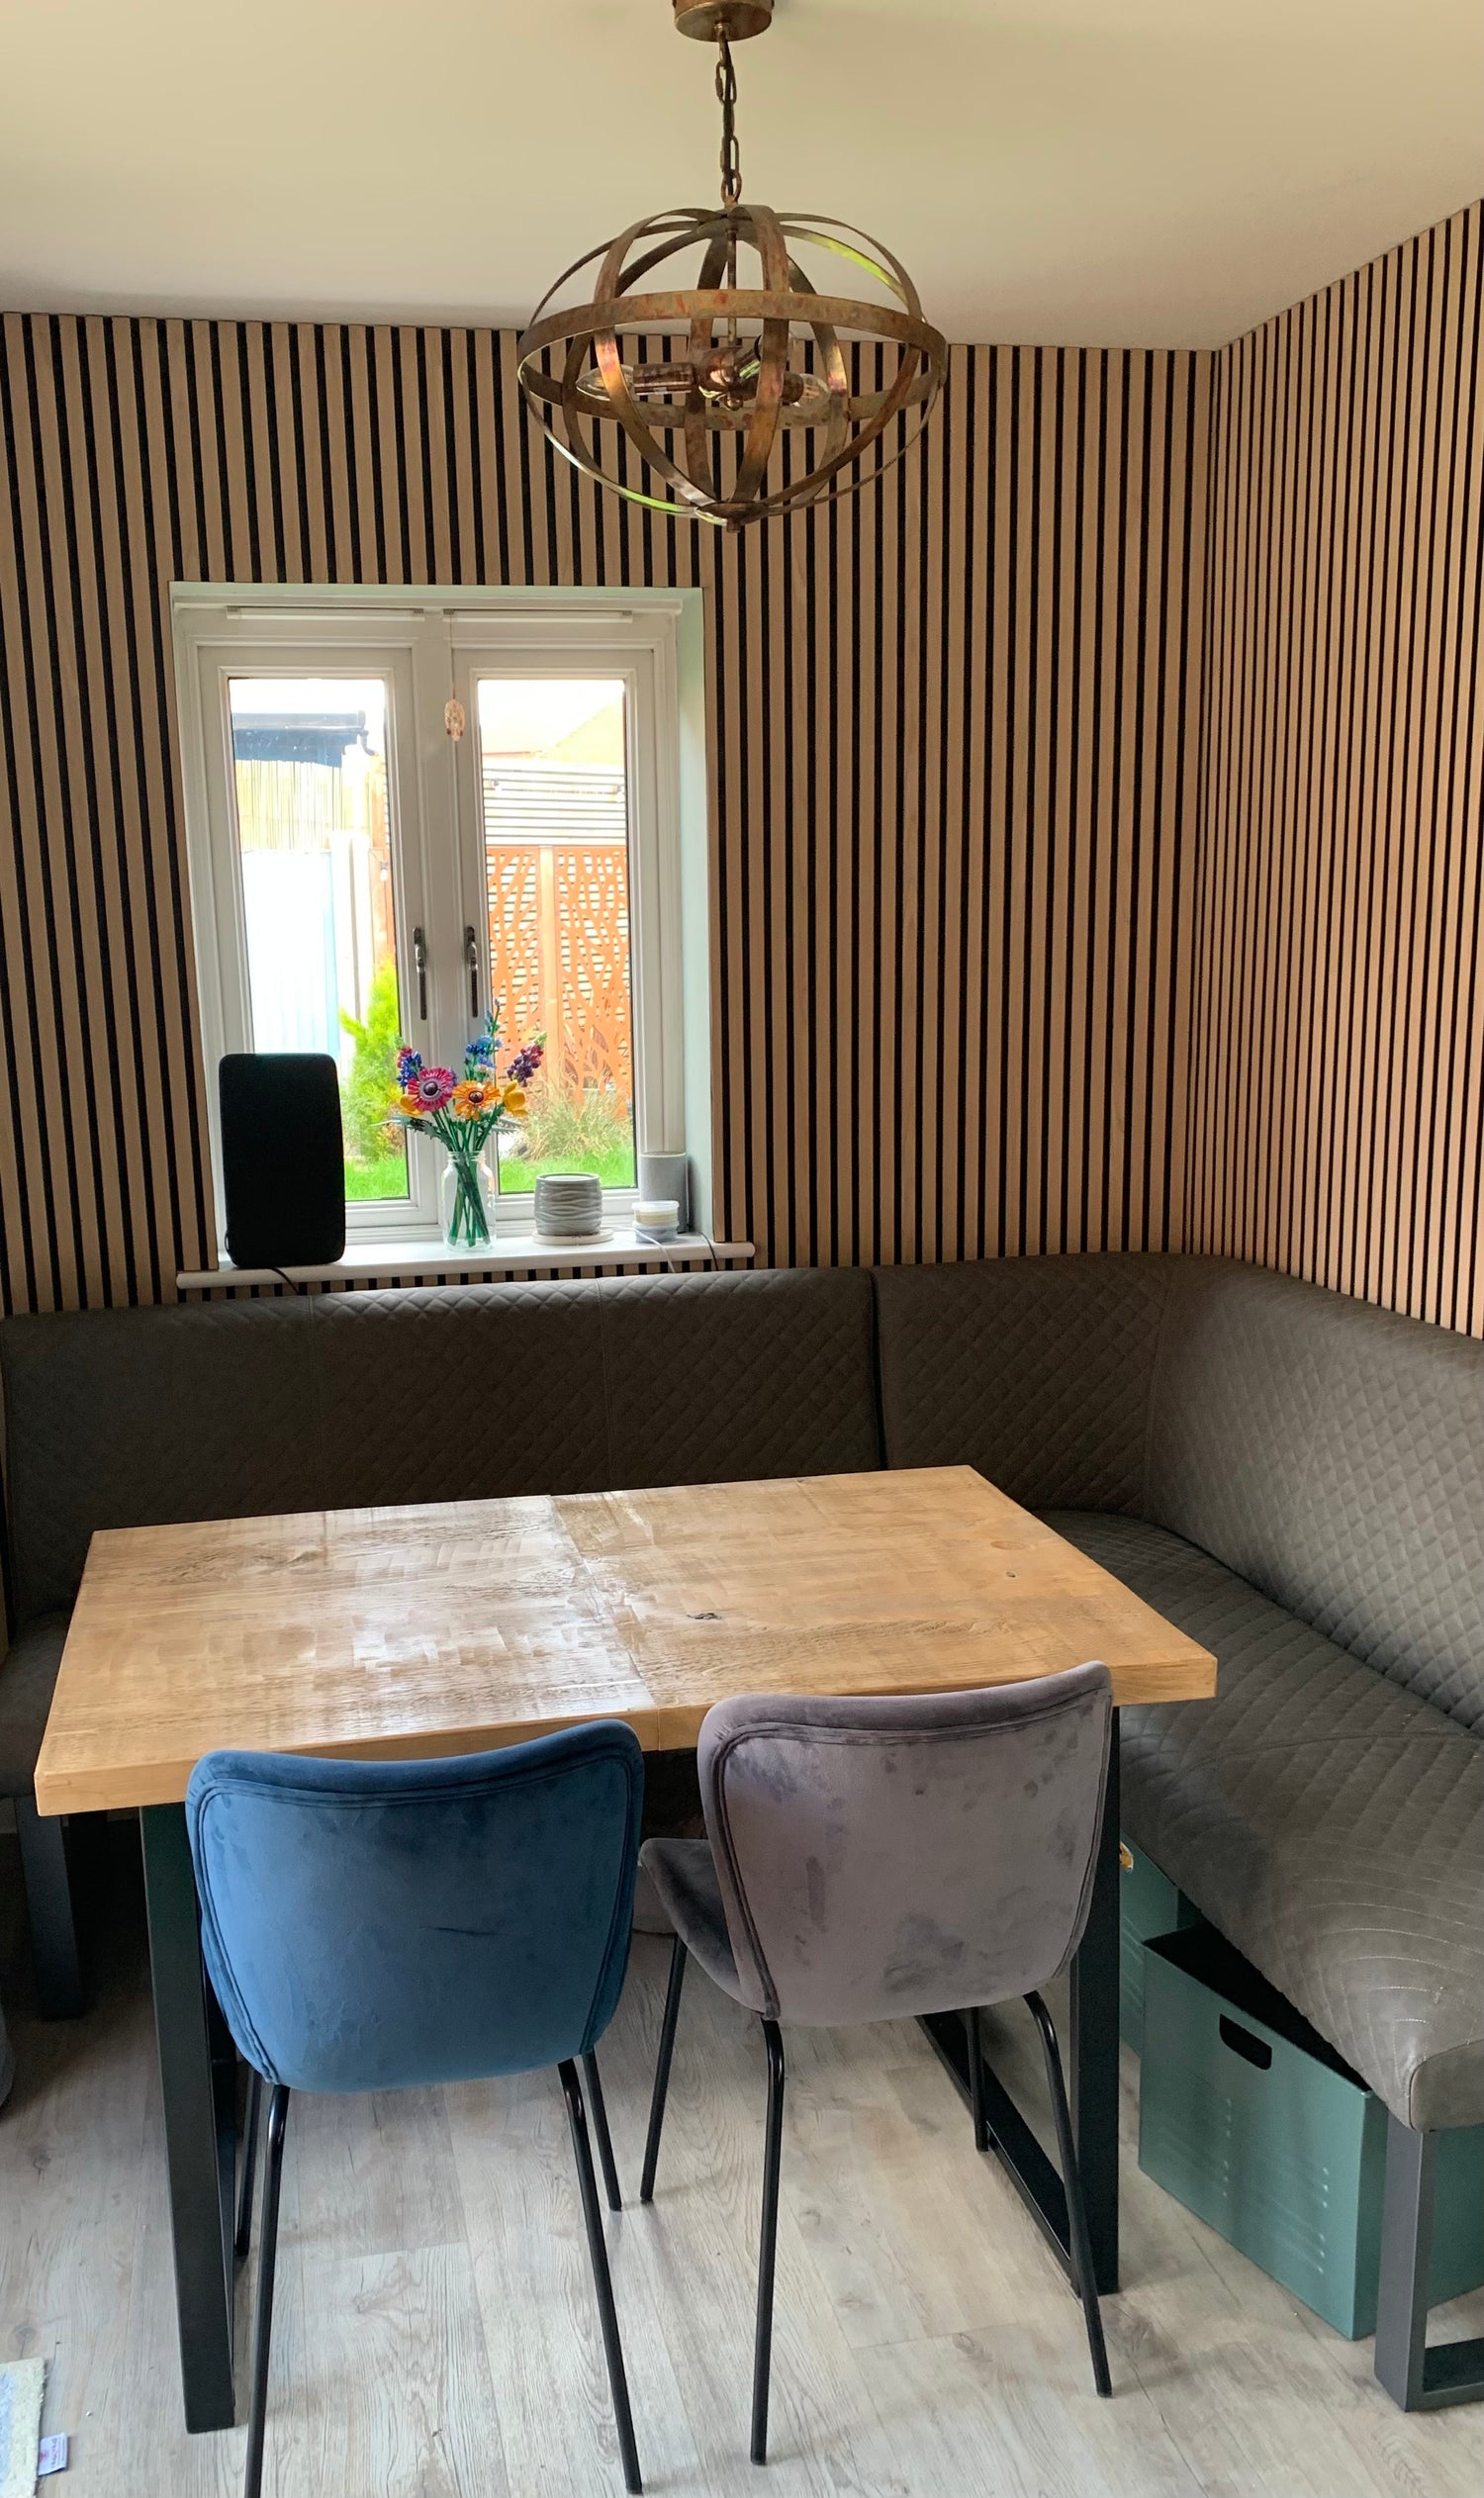
Extending Tables
1. Lay the table face down on the packaging
2. Slide the main sections of the table together
3. Place the star knobs in the elongated slotted holes, which have the metal insert inside
2 for main table, 2 for centre leaf (only fully tighten when table sections are together)
4. Place the extension bar over the predrilled insert holes, nearest to the centre of the table and secure
5. Place the legs over the predrilled insert holes
6. Using the spanner provided secure the table legs with the bolts
To extend: Loosen the star knobs and pull the table apart, insert the centre leaf and slide the table together, slightly lifting the table so it is level then tighten all 4 star knobs
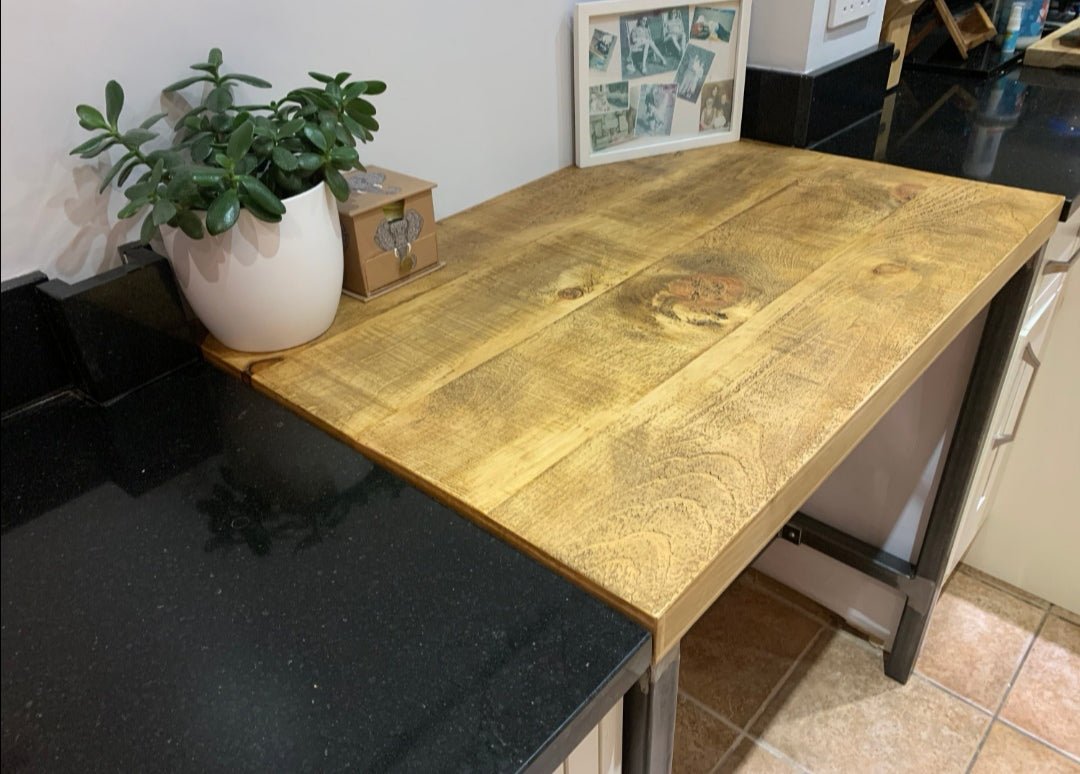
Breakfast Bars
1. Lay the wooden bar top face down on the packaging
2. Loosely attach the support bar to the legs (finger tighten only) the holes for the support bar are only on one side
3. Place the breakfast bar frame over the predrilled insert holes
4. Using the spanner provided secure the legs with the bolts and tighten the crossbar
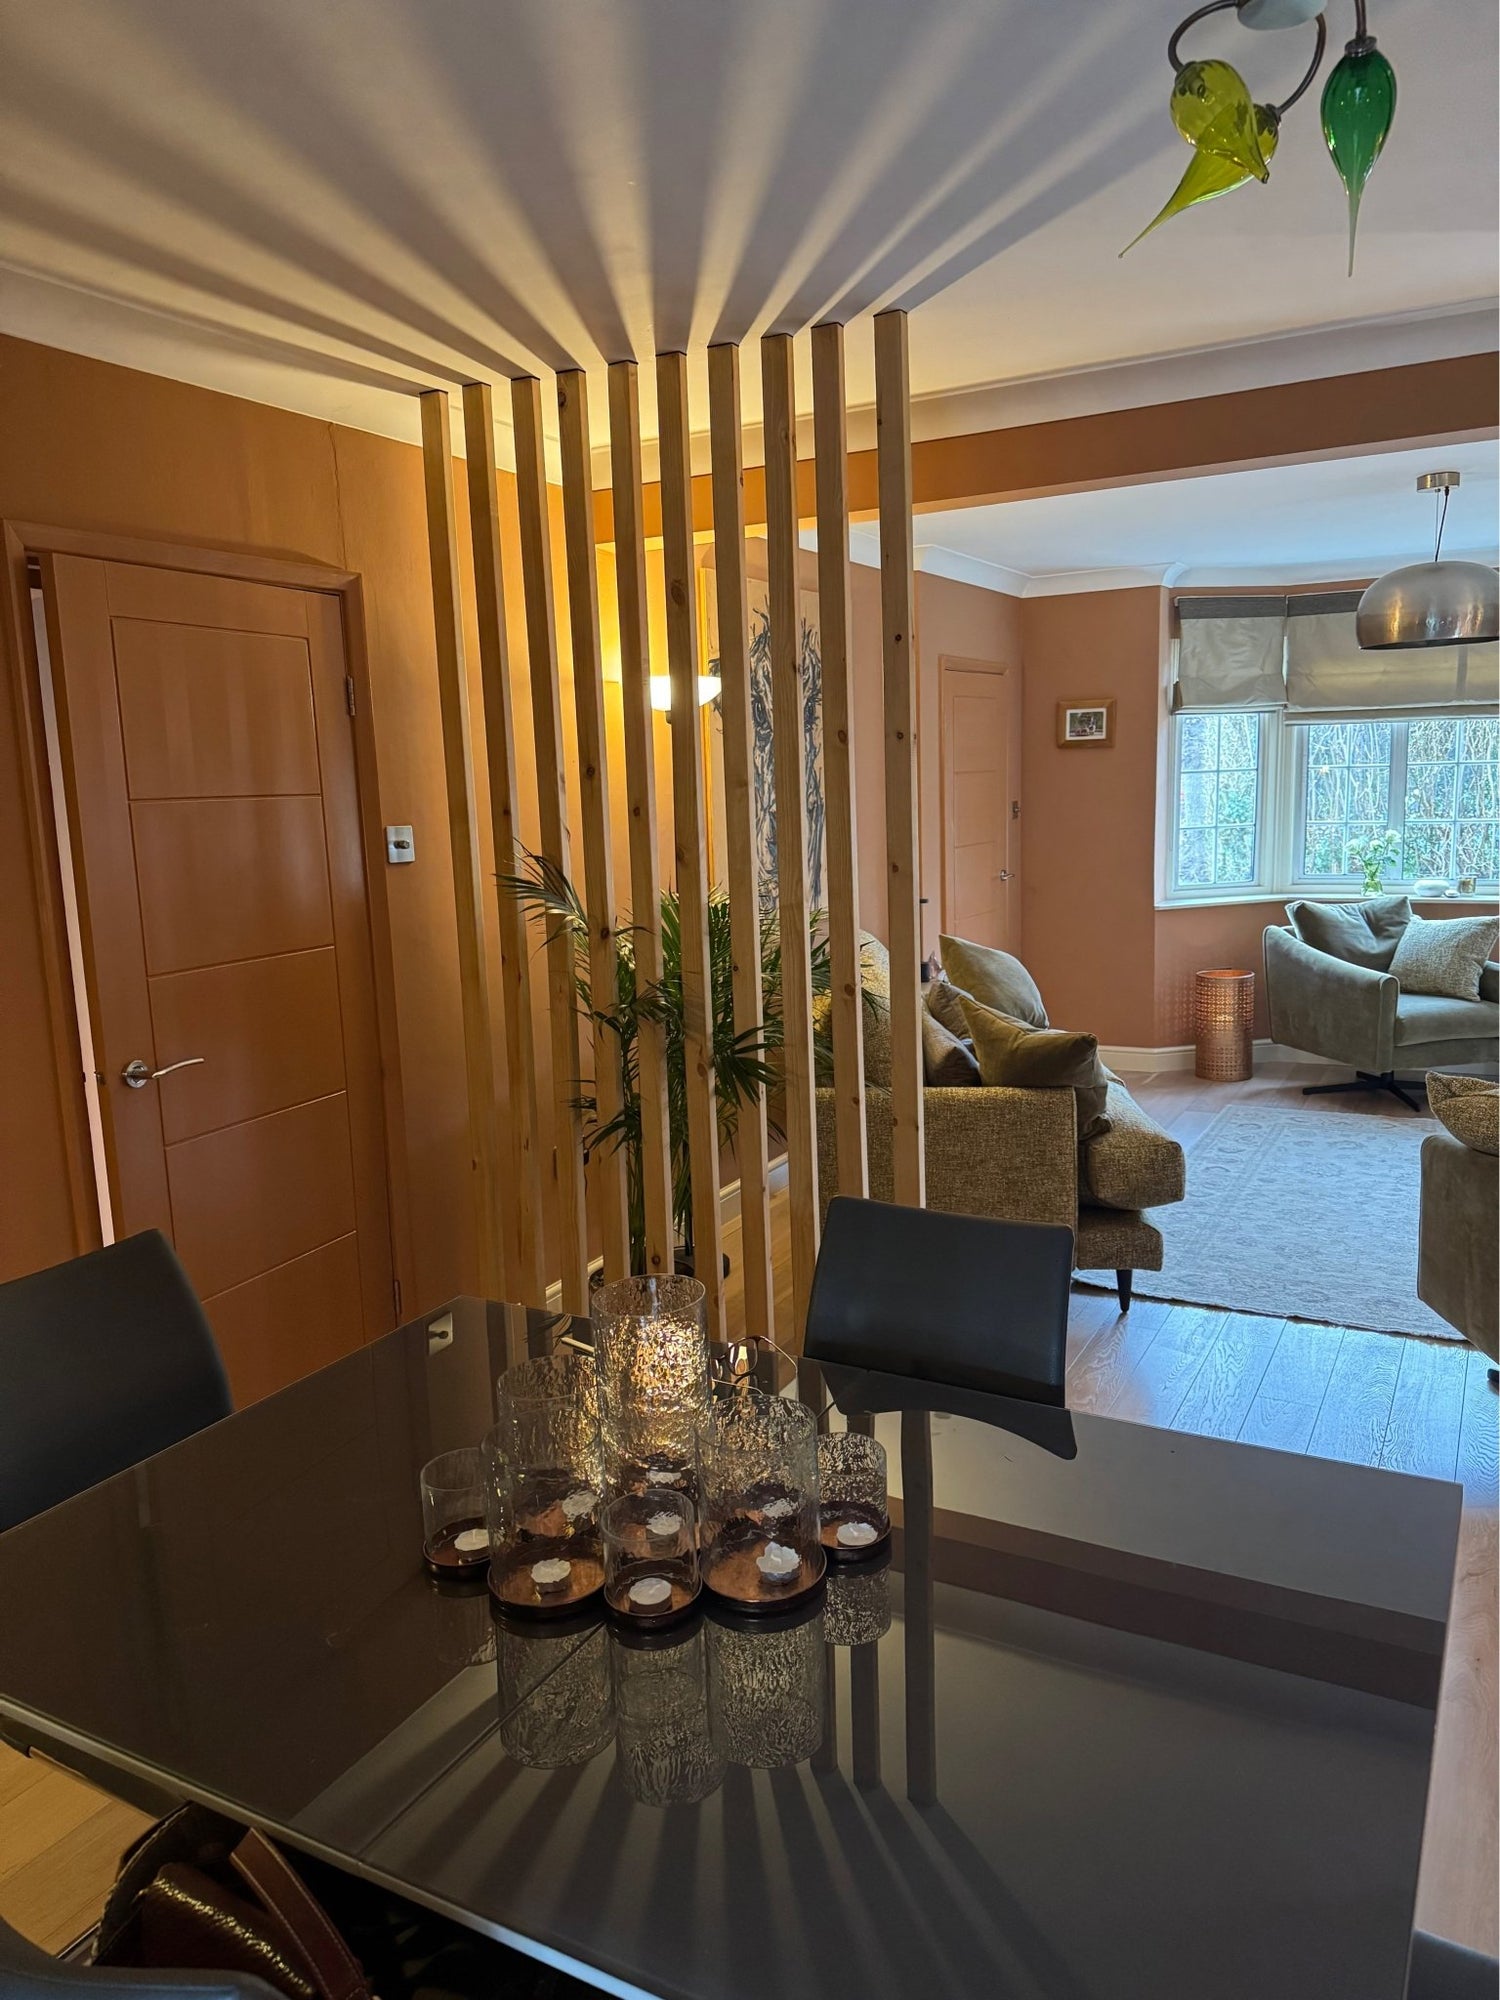
Room Dividers
1. Remove the room dividers from the packaging
2. Place the first room divider in the desired position
3. Put pressure into the ceiling by threading the levelling foot to make it tight. Please note you will need an 8mm spanner for this (not provided)
4. Use a tape measure to set the desired distance between each room divider, and that they are parallel floor to ceiling
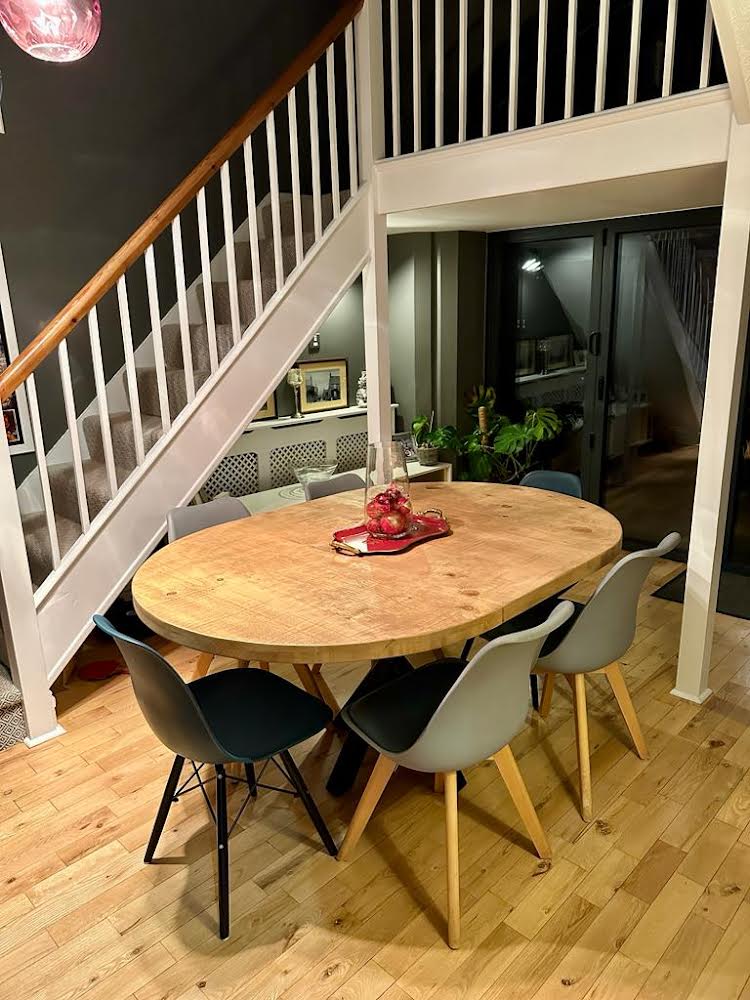
Central Extending Round Tables
Spider:
1. Remove the table from the packaging
2. With 2 people, one on each end, lift the table up so the metal bracket is facing downwards and slot the metal frame over the legs so you can see the threaded holes
3. Put a bolt and washer into all 4 of the holes on the leg
4. Slot the table back together and lock the 2 star knobs
To extend: Loosen the star knobs and pull the table apart, insert the centre leaf and slide the table together then tighten all 5 star knobs
